
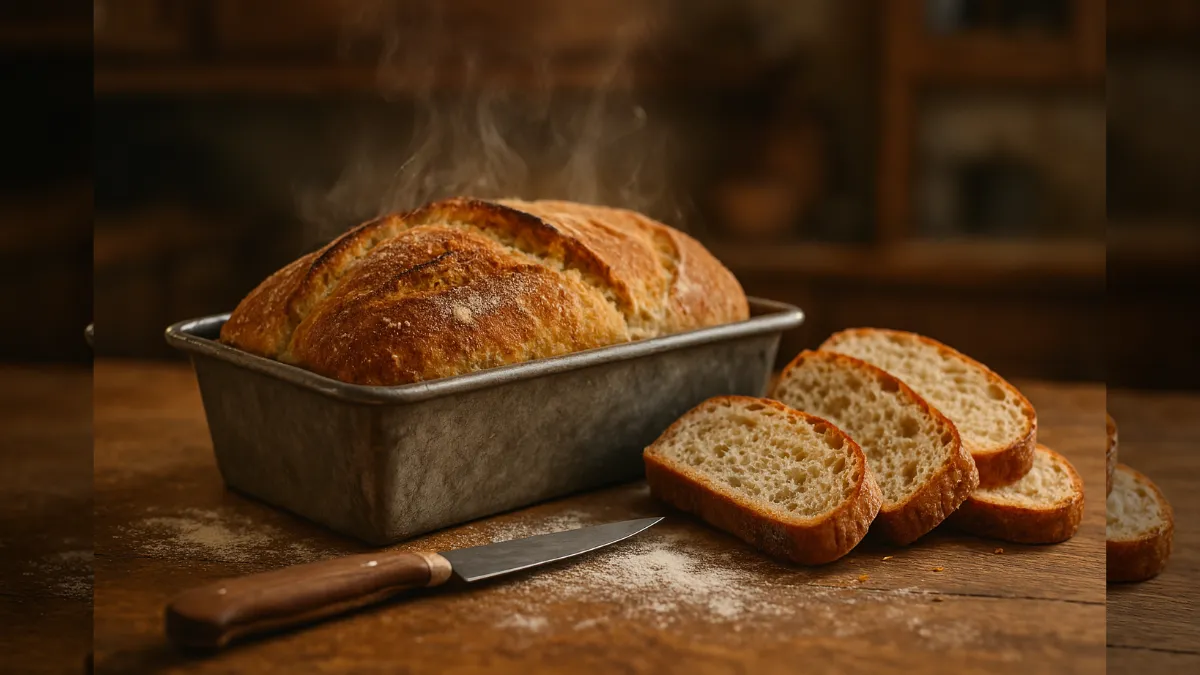
There’s just something so comforting about that smell of fresh-baked bread wafting from your home. This Artisan Bread in Loaf Pans recipe is a no-nonsense, easy way to have rustic, bakery-quality bread fresh from your kitchen. Whether you are an accomplished baker or a novice, this recipe produces golden, crusty loaves with tender, chewy interiors from basic pantry staples.
And the best part? You don’t require specialized equipment—you just need your faithful loaf pans. With minimal kneading time and a loose timetable, you’ll have on-your-countertop-perfect bread for sandwiches, toast, or just slathered with butter. Let’s bring the artisan bakery home!
Why You’ll Love This Recipe
This recipe captures the appeal of homemade bread in an approachable, easy-to-use format. Baking in loaf pans adds structure to the bread and is perfect for sandwiches, French toast, or your breakfast avocado toast. Unlike most artisan loaves that necessitate Dutch ovens or specialty equipment, this one is available to anyone with a basic kitchen setup.
What truly sets this bread apart is that it has a crusty outside with a light, airy inside—the texture combination that tends to be tricky to replicate with straightforward recipes. It’s also highly versatile. Whether you prefer to let it rise over night or bake it on the same day, the dough adapts to your timetable.
And it’s a people-pleaser—everyone adores homemade bread, particularly if it tastes like it was from a fancy bakery. Whether you’re baking for a weekend breakfast or planning meals for the week ahead, this recipe will quickly become a staple in your repertoire.
Make-Ahead Tips
One of the greatest things about this artisan bread recipe is that it works so well with a hectic routine. It is possible to mix the dough the evening before and cold ferment it in the fridge all night. Not only does this make tomorrow morning go faster, but it also allows for better flavor in the finished bread, with that characteristic artisan tang and complexity.
If you prefer to bake it in the morning or after you get home from work, simply mix ahead of time, refrigerate mixture in a covered bowl, and let it rise slowly overnight. When it’s time to bake, let it sit at room temperature for 1 hour, shape it into your loaf pans, let it rise again, and bake. It also freezes beautifully. Just slice it after it’s cooled, put it in freezer bags, and toast slices from the freezer as desired. This way, you’ll have fresh-tasting homemade artisan bread anytime you need it.
Ingredients
- 3 ½ cups (420g) all-purpose or bread flour
- 1 ½ tsp salt
- 1 ½ tsp sugar (optional, for browning)
- 1 tsp instant yeast
- 1 ½ cups warm water (around 110°F)
- 1 tbsp olive oil (optional, for a softer crust)
- Extra flour or cornmeal for dusting
Time Overview
- Total Time: 3 hours (or overnight with extended fermentation)
- Prep Time: 15 minutes
- Cook Time: 30–35 minutes
- ⭐ Rating: 5.0 ⭐⭐⭐⭐⭐
Instructions
Mixing the Dough
In a large mixing bowl, stir together the flour, salt, sugar, and yeast. Pour in the warm water and mix with a wooden spoon until you get a sticky, shaggy dough. Add the olive oil if using, and mix it in.
First Rise (Bulk Fermentation)
Cover the bowl with plastic wrap or a damp kitchen towel and let the dough rise at room temperature for 2 to 3 hours, or until it has doubled in size. Alternatively, pop it in the fridge overnight for a slow rise and deeper flavor.
Shape the Dough
Lightly flour your countertop and turn the dough out. Gently stretch and fold it a few times to build some structure. Divide it in half for two loaves, shape each piece into a log, and place in greased or parchment-lined loaf pans.
Second Rise
Cover the pans and let the dough rise again for 45–60 minutes, until it rises just above the pan rims.
Preheat the Oven
Set your oven to 425°F (220°C). If you’re adding steam, place a metal pan on the lowest rack to heat while the oven preheats.
Bake
Put the loaf pans on the center rack. Carefully pour hot water into the heated metal pan below to create steam, then close the oven door quickly. Bake for 30–35 minutes, or until the loaves are golden and sound hollow when tapped.
Cool Completely
Take the loaves out of the pans and let them cool on a wire rack for at least 30 minutes before slicing.
Tips for Better Artisan Loaf Bread
- Hydration is key: The dough should be slightly sticky. Don’t add too much flour or you’ll lose that tender, airy crumb.
- Check doneness with a thermometer: A fully baked loaf should read about 200°F (93°C) internally.
- Steam helps the crust: That hot water pan creates the perfect crispy exterior.
- Be patient: Let the bread cool fully or it might turn gummy when sliced.
FAQs
1. Can I use whole wheat flour instead of all-purpose flour?
Yes! You can swap up to 50% of the flour with whole wheat. It’ll be heartier and denser, but still super tasty.
2. How do I know when my dough has risen enough?
It should double in size and feel airy and pillowy when you gently poke it. Watch out—over-proofed dough might collapse.
3. Can I add seeds, herbs, or cheese to the dough?
Totally! Mix in about ½ cup of goodies like shredded cheese, chopped herbs, or seeds when you first mix the dough.
4. Why use loaf pans instead of a Dutch oven or baking stone?
Loaf pans are easier for shaping and slicing—especially for beginners—and they’re perfect for sandwich bread.
Conclusion
This Artisan Bread in Loaf Pans recipe makes it a breeze to create bakery-level bread with everyday tools and ingredients. Whether you’re baking for a holiday brunch or just leveling up your sandwich game, it delivers the perfect combo of taste, texture, and appearance.
With flexible prep options, basic ingredients, and clear instructions, it’s a reliable go-to—whether your week is packed or you’re enjoying a slow Sunday. So preheat that oven, grab your loaf pans, and get ready to fill your kitchen with the smell (and taste) of true homemade comfort.